How I Learned to Solve the Rubik’s Cube in 30 Seconds
And why it’s a lot easier than it looks!
If I were to hand you a Rubik’s Cube right now, do you think you would be able to solve it? A lot of people would say “no” before making that hilarious joke about peeling the stickers off that I definitely haven’t heard before.
But what if I told you that the Rubik’s Cube is actually quite straight-forward to solve? While it will take hours and hours to get to the point where you can solve it in 30 seconds, the process of solving the cube itself really isn’t that difficult with the right resources. This article is going to look at how I learned to solve the Rubik’s Cube for the first time, and how the task many consider as ‘impossible’ is very much possible.
So, what is a Rubik’s Cube?
The Rubik’s Cube is a famous puzzle designed in 1974 by a Hungarian professor, known as Ernő Rubik. The puzzle consists of a large cube being split into a 3x3 orientation of smaller cubes, with each side being able to rotate 360 degrees. Each side is assigned a colour, and the cube is considered ‘solved’ when each side is made up of just one colour.
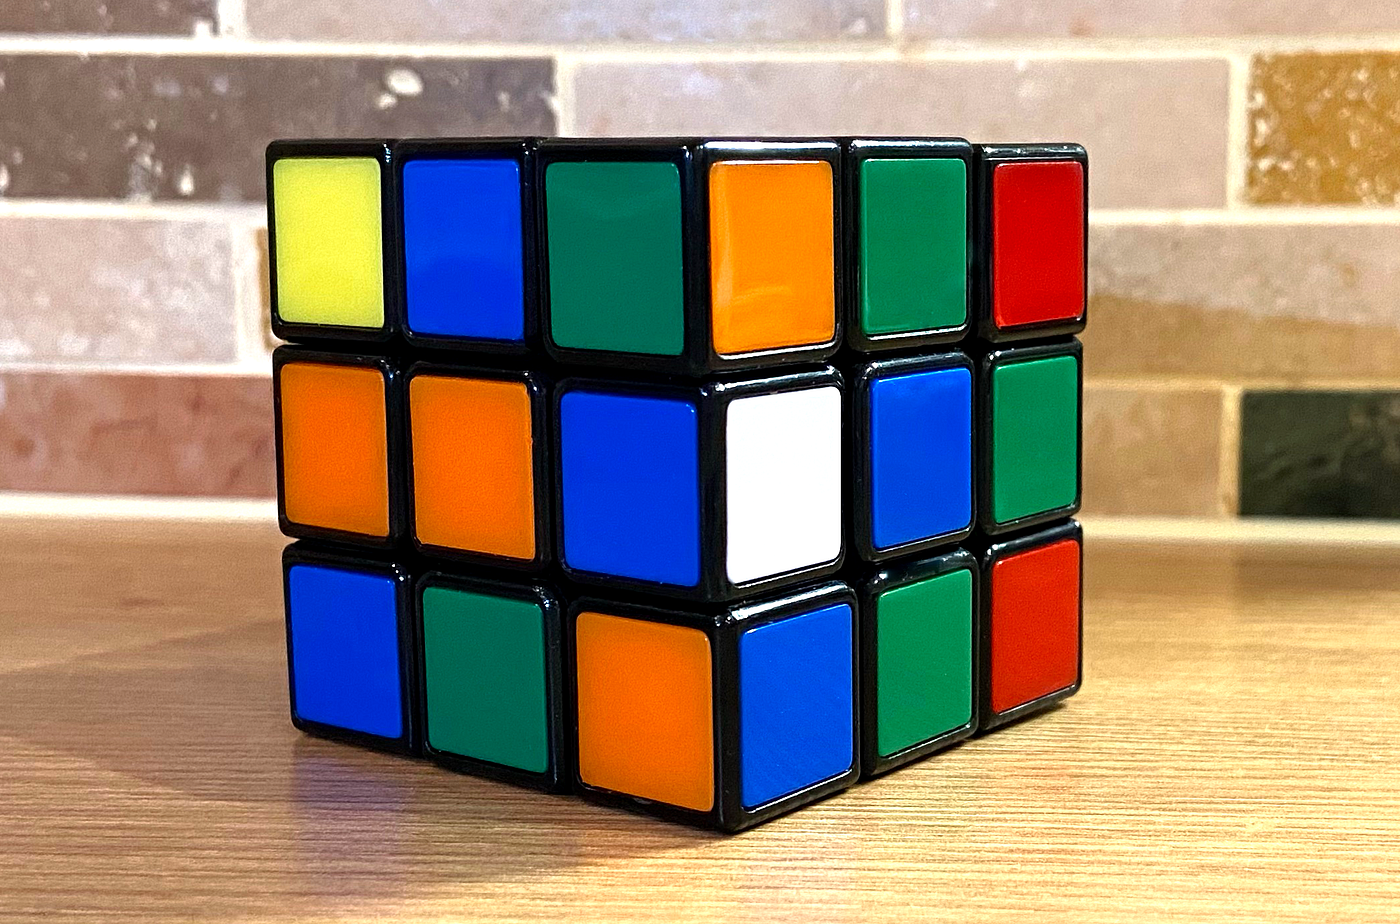
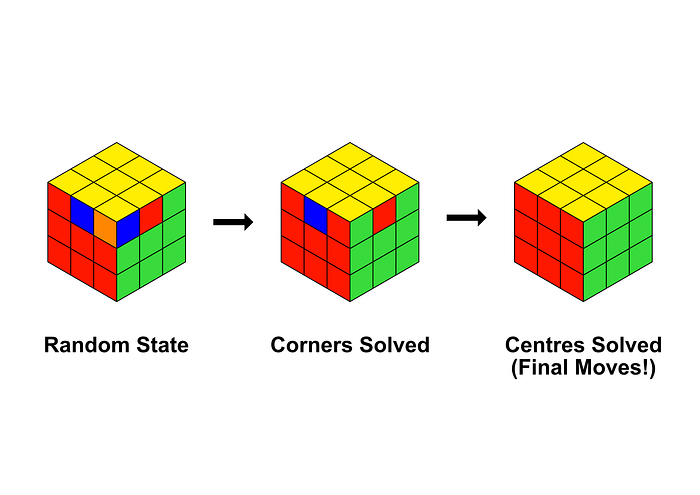
Every time you rotate a side, it breaks the colours apart, scrambling the puzzle. Once the cube is fully scrambled (such as in the example below) the aim is to try and piece all the colours together until it is back in its solved form.
Sounds easy, right?
The concept itself is simple, but being given a scrambled cube and trying to solve it for the first time is a very daunting task. I started playing with the Rubik’s Cube at the age of 12, and was instantly hooked. I was certainly not smart enough to work out how to get the cube back to the solved state; but, the internet was here to save the day (as usual).
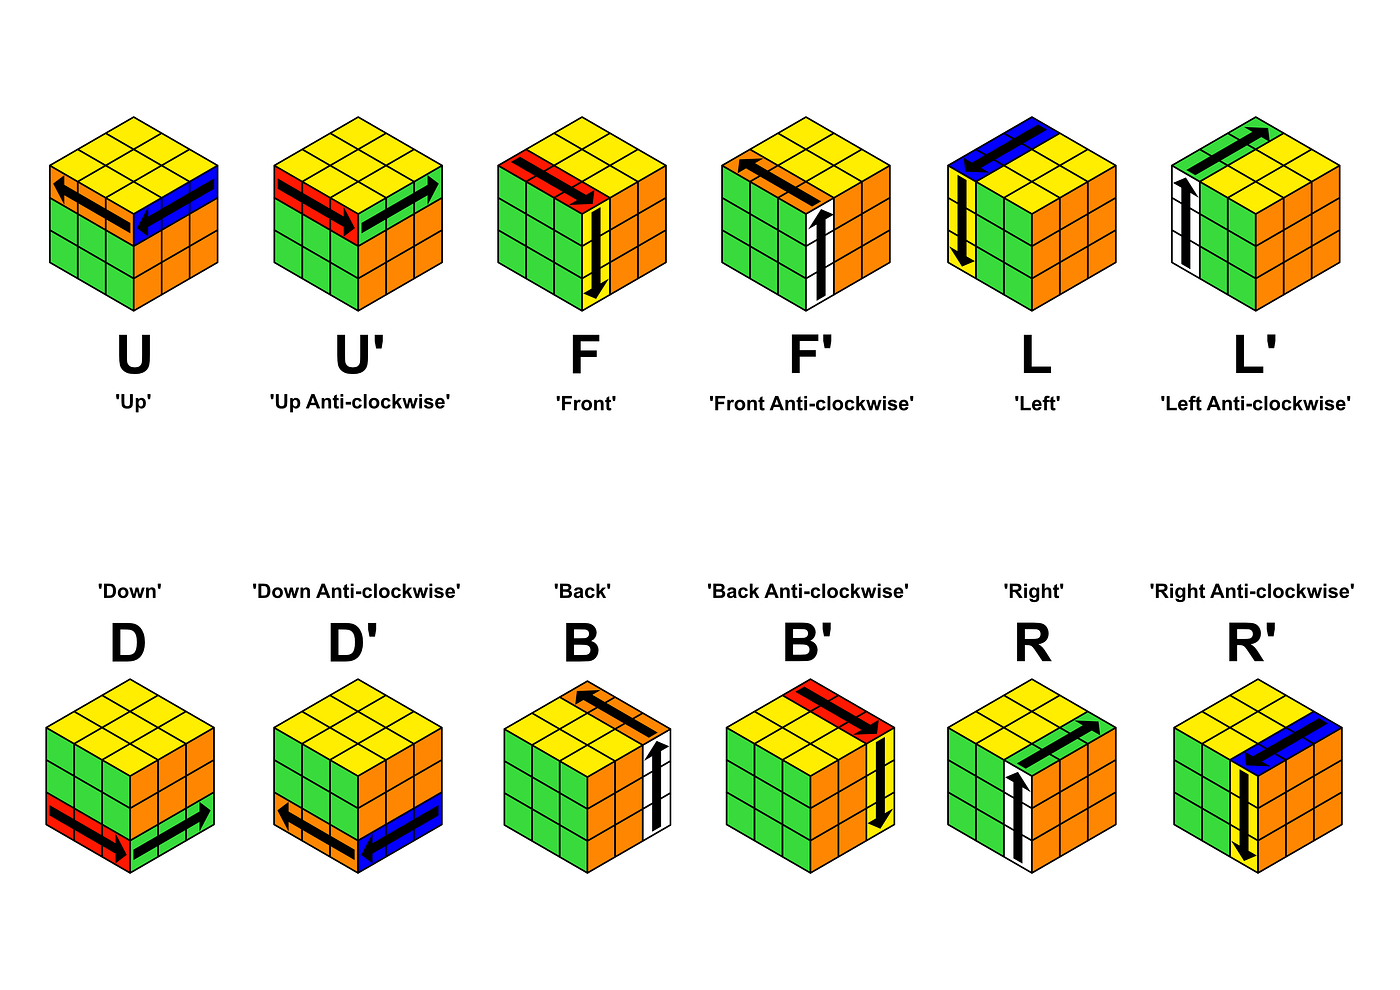
After a quick Google search, some reading and a couple of YouTube videos later, I learned about ‘algorithms’ — a sequence of moves that will move the cube from one state to another. They seemed complicated at first, but with a little bit of practice I was able to get the hang of them and solve the Rubik’s Cube for the first time. Below is a diagram that shows the notation that is used to understand these algorithms:
How do you solve the Rubik’s Cube?
The Rubik’s Cube has a massive 43 quintillion (43,000,000,000,000,000,000) possible scramble states, meaning the combination you have on your dusty Rubik’s Cube in the cupboard has likely never been seen by another cube owner in the 47 years of the puzzle’s existence — assuming you scrambled it properly. The way you solve the cube is to solve stages, narrowing down the number of possible combinations until there are only a handful of possible scrambles left.
An example of this concept could be if you had a 1,000 piece jigsaw puzzle with the border already created, as well as a pile of scrambled pieces. The chances of you picking a piece up from the pile and having it fit perfectly with an already-solved puzzle piece is very low. However, the chances of a perfect fit will improve as you solve the jigsaw more. This continues until you get to the final piece, which has a 100% chance of fitting perfectly with another solved piece. The Rubik’s Cube follows the same concept.
The first half of the puzzle is completely intuitive, with the aim being to narrow the cube down so there are only two layers left to solve. From there, algorithms are implemented to complete certain ‘cases’ until the cube reaches its solved state.
Here is a breakdown of how the Rubik’s Cube is solved:
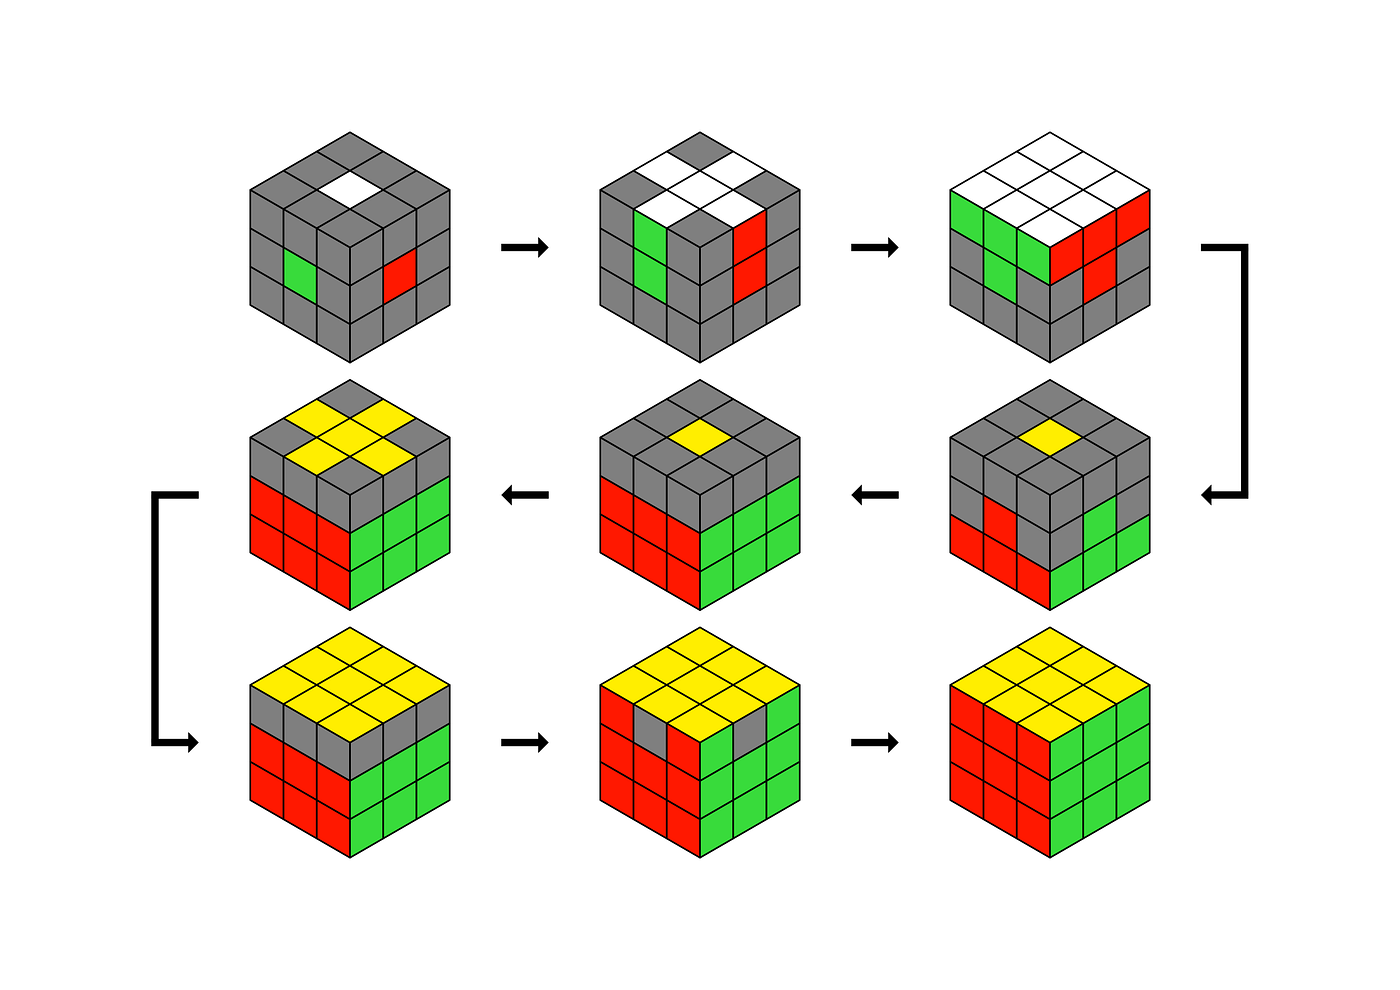
Step 1: The white cross and face
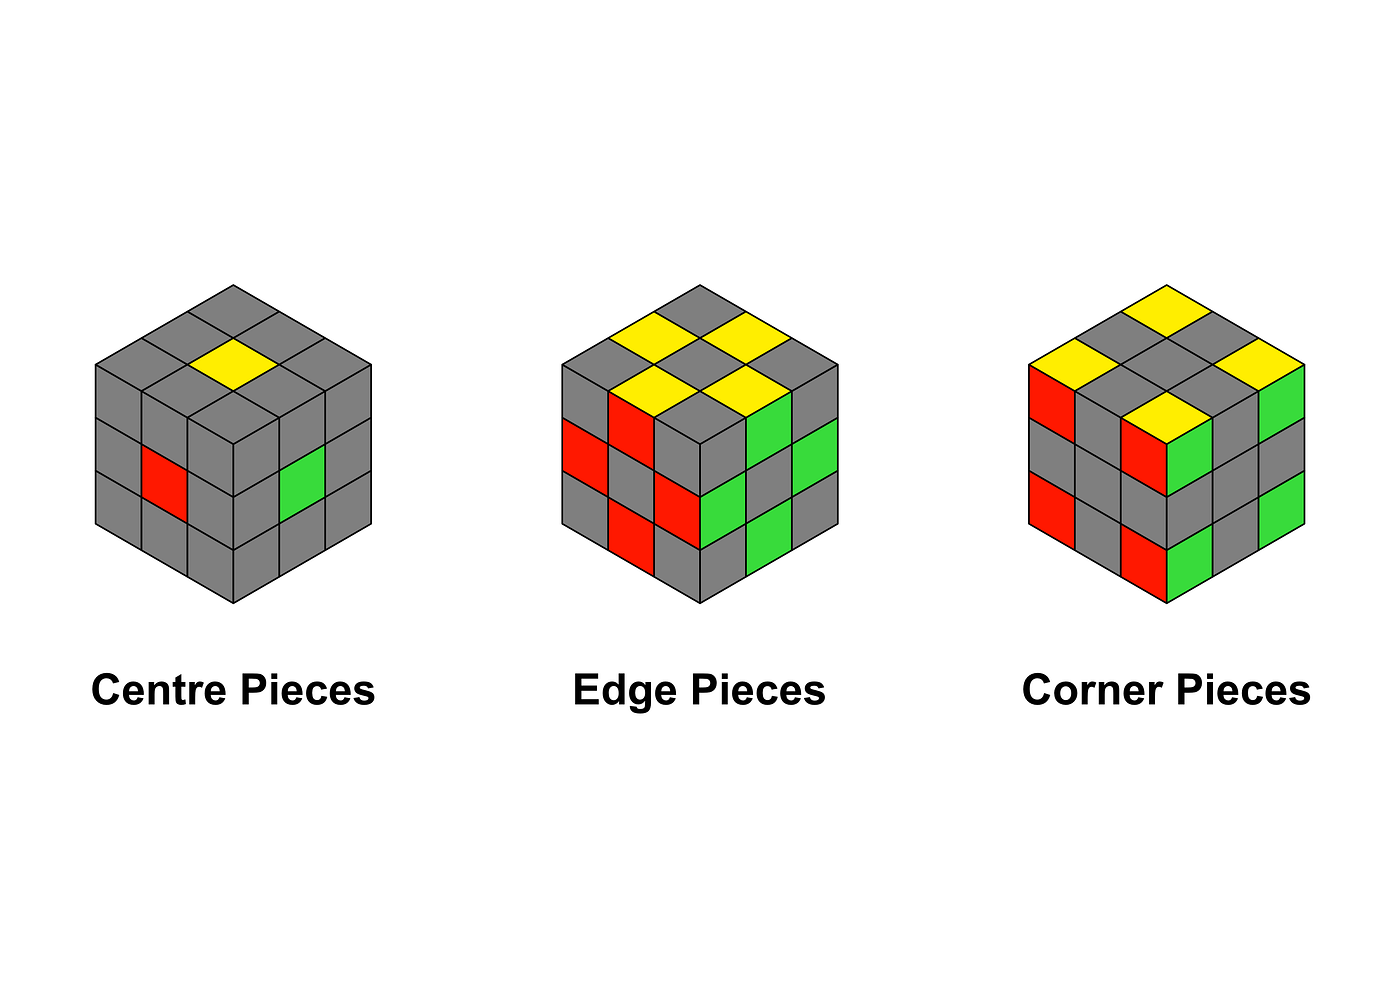
The first step of solving a Rubik’s cube is to create a cross of a colour of your choice (I always pick white as this is how I learned), followed by completing the rest of the face. It is worth noting that the centre pieces of a cube are impossible to move, they only rotate. For this reason, certain colours will always be opposite with each other. White is always opposite yellow, blue is always opposite green and red is always opposite orange.
Using this knowledge, you need to create a white cross with the edge pieces on the cube. The colours of each edge piece needs to line up with the centre pieces of the same colour. For example, the white and blue edge piece needs to be connected to the white and blue centre pieces respectively. There are 4 total pieces that work this way, and you can see this demonstrated on the left-hand cube below (note that the white/orange and white/green edge pieces are located at the back):
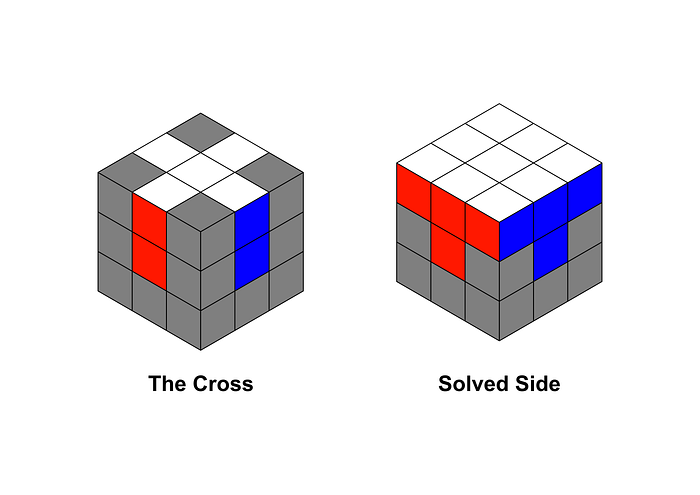
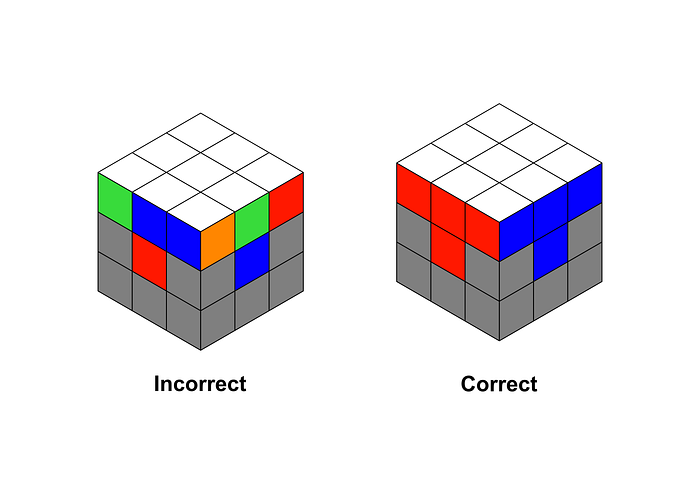
Once this has been completed, you then insert the corners in a way that will make the colours create a band around the top layer of the cube. This is where the majority of people that pick up a Rubik’s Cube for the first time make a mistake — they put the corners in the wrong place, making it impossible to progress with the rest of the cube. This also happens to be the part where most people give up…
Step 2: Solving the middle layer
The next step of the Rubik’s Cube requires you to turn the puzzle upside down, putting the white face on the bottom and working from there. You then need to solve the middle layer by solving four of the remaining eight edge pieces; essentially completing two-thirds of the puzzle.
The beginner’s method requires two algorithms to complete this stage, but those that solve the cube in 30-seconds use a different method called ‘F2L’ — which I’ll discuss later.
Once the middle layer has been solved, you will be left with the top face and the final layer until the cube is in a solved state.
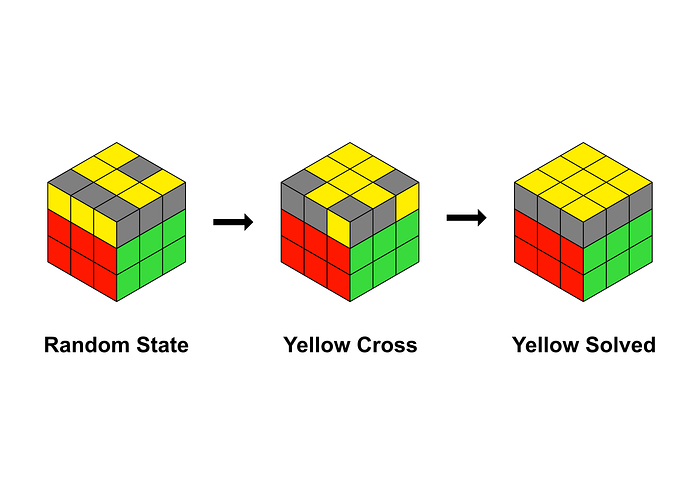
Step 3: Solving the yellow cross and face
The third step in solving the Rubik’s Cube is known as ‘OLL’, or ‘Orient the Last Layer,’ which involves solving the yellow side. Unlike with the white face, we aren’t aiming to solve the band around the outside as this is what we do in Step 4; instead, we focus on ensuring the remaining pieces are all at the correct rotation (with yellow on top).
There are 57 possible states that the yellow side can be found in once you have solved the middle layer. The beginners method simplifies this process by using three or four algorithms to solve the cube into a cross, then to insert the corners.
The fastest solvers in the world are able to save time by learning 57 algorithms (one for each case) rather than the three or four that beginners use. This is because it will cut out the need to solve the yellow cross and will solve the yellow face from its random state.
Completing this step will leave an unsolved band on the top layer, looks like this:
Step 4: Positioning the remaining pieces
The final step of the Rubik’s Cube is known as ‘PLL’, or ‘Permutate the Last Layer,’ which is where you rearrange the positioning of the solved yellow pieces in order to solve the cube.
Much like with OLL in Step 3; there are multiple cases that you can be presented with at this part of the solve. There are a total of 21 cases, which means 21 algorithms that the professionals memorise. However, the beginner’s method requires only three or four algorithms to complete two-part process, just like with OLL.
The first part of Step 4 involves positioning the corners so they match their respective colour. This will then leave the edge pieces, which will need to be rotated around a cycle until the cube is solved. The algorithms for this stage are a little longer, and a bit more complicated; but will see the cube become fully solved at the end.
After this step, your Rubik’s cube has now been solved! As I said at the start of this piece, the cube isn’t very difficult to solve and follows a logical chain of events.
Wait, how is it possible to do all of that in 30 seconds?
Solving a Rubik’s Cube in 30 seconds is a benchmark that I have wanted to reach since I started watching videos on YouTube showing the world records being beaten. While it will take a long time to reach the sub-ten second mark that the fastest solvers are capable of, and will likely never happen as I don’t have a lot of time on my hands anymore — the 30 second mark is a number I can say that I am happy with now that I have reached it.
To reach that the 30-second average takes a lot of practice, as well as understanding how the cube works. By holding the cube in the right position, turning the sides with the correct fingers, recognising the cases quickly and executing algorithms from muscle memory — the 30-second mark quickly becomes possible.
On top of this, learning the 57 OLL and 21 PLL algorithms will certainly help improve your times — though I haven’t done this yet and I believe this will help you reach the 20-second average as you can complete the stages a lot quicker.
I previously mentioned ‘F2L’ as being an alternative method that ‘speed cubers’ solve the Rubik’s Cube with. The acronym stands for ‘First 2 Layers’ and is a shortcut that sees the solver insert the middle layers along with the corners for stage one and two.
While the beginners method starts with a white cross, followed by the white corners and then the middle layer; F2L will combine placement of the white corners and the middle layer pieces to complete the steps faster. However, this stage is completely intuitive and takes a long time to master.
If you were to break down a 30-second solve into time allocations, this is what you would be aiming for:
- The cross: 4 seconds
- F2L: 16 seconds
- OLL: 4 seconds
- PLL: 6 seconds
This may seem impossible to those that have never solved a Rubik’s Cube before, but it is easily possible with practice. While it does sound cliché, the idea of practice being the best way to improve stands to be true in the case of the Rubik’s Cube. With enough practice, I believe anybody can get there.
Final Thoughts
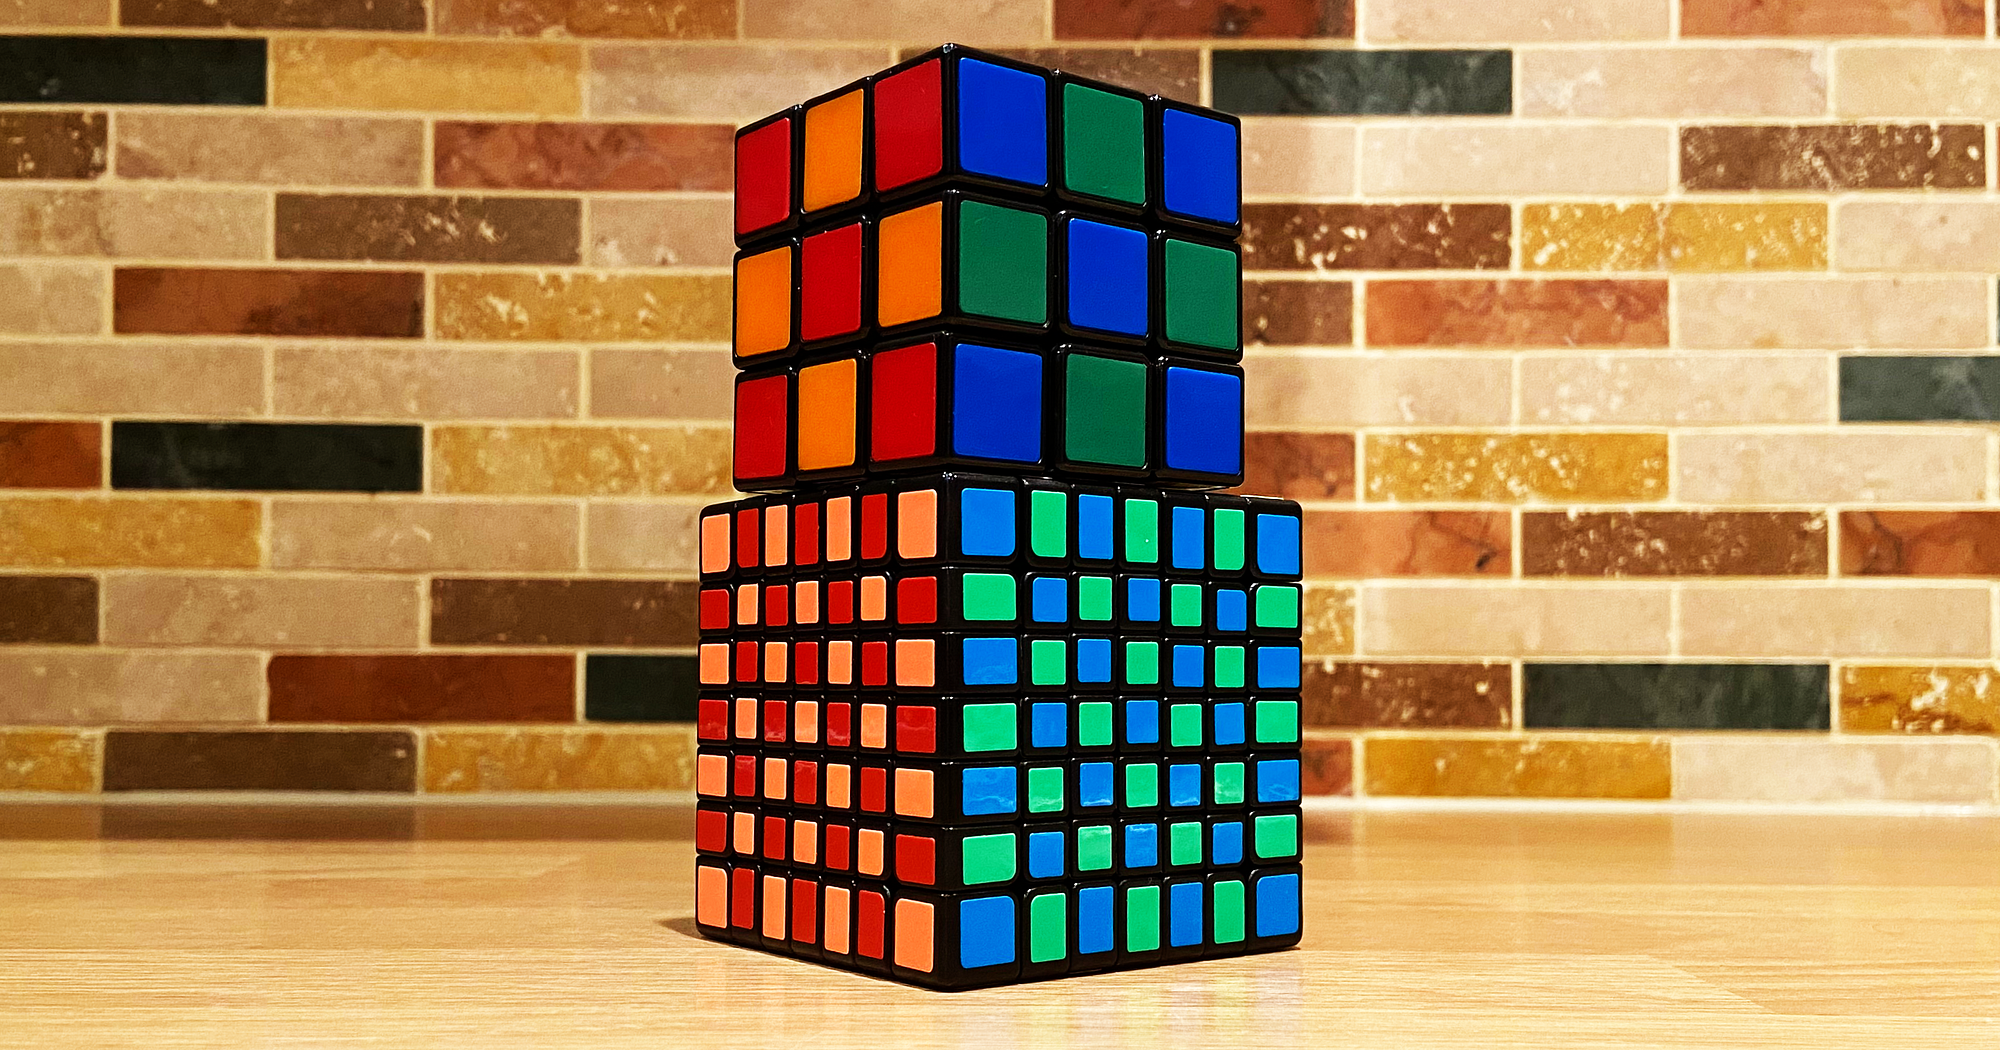
Solving the Rubik’s Cube is one of my favourite hobbies. While I certainly don’t spend as much time as I did when I was 16 trying to get faster; I still pick up a cube from time to time and enjoy messing around with it. My interest in Rubik’s Cubes has grown into a bigger enjoyment of puzzles; where I spend a little bit of my free time every now and then working out how to solve the bigger puzzles, such as the 6x6 and 7x7 cubes.
Cubing is a great hobby to get into with some great creators on YouTube and other platforms that can teach you the basics. If you enjoy puzzles, maths and brain-teasers in general; pick up a Rubik’s Cube. You won’t regret it.
Joe McCormick

